You have songs you want to record, but you don’t know where to start? We’re looking at how to set up a home recording studio for beginners.
When you’re starting out your journey into creating your own music, it’s hard to know which parts go where. However, there are a few guidelines and tips we can offer, to make the process a little less daunting.
How To Set Up A Home Recording Studio For Beginners
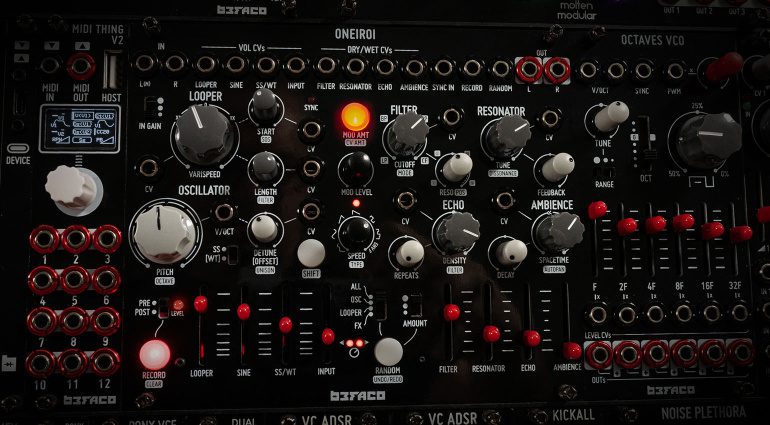
The first thing to consider when you put together a home studio is what you plan on using it for. If you’re producing music, the focus of your setup differs if you are creating music with your own acoustic recordings compared to the samples and synthesizers used in electronic music for example.
If you still don’t know where to start, please check out our sound-alike series. Here you can gain some insight into the creative process behind some of your favourite artists and discover more about the gear they used to make the sounds we love.
Once you know your focus, you can ensure you have the right tools for the job. Moreover, you can put steps in place to make your room a better environment for tracking vocals and instruments or mixing.
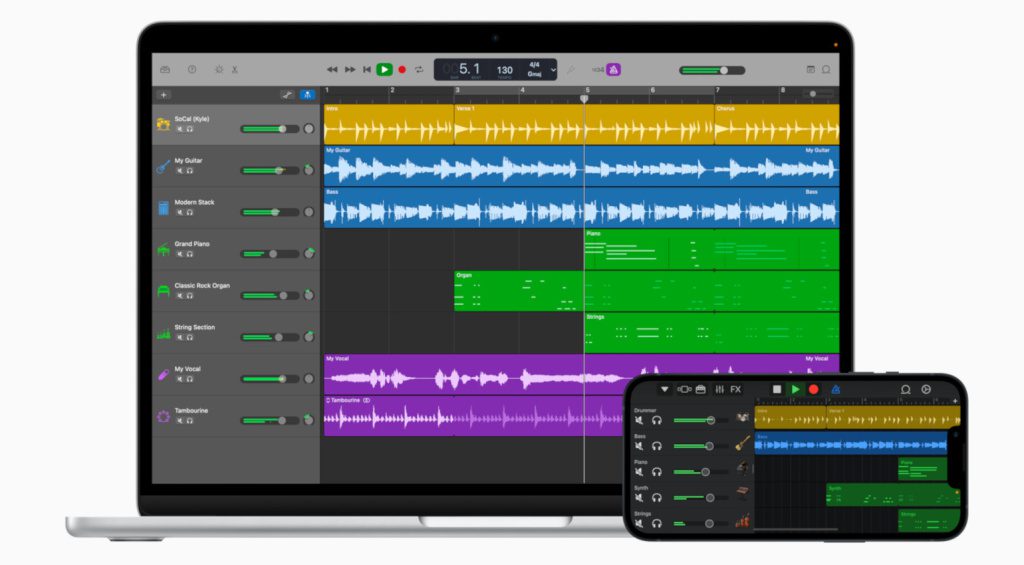
Mac or PC? Which DAW?
If you already own a laptop or desktop computer, start with what you’ve got. While Macs come preinstalled with Garageband, you can also get a basic version of Ableton Live, FL Studio, or Reaper for around $60-$100.
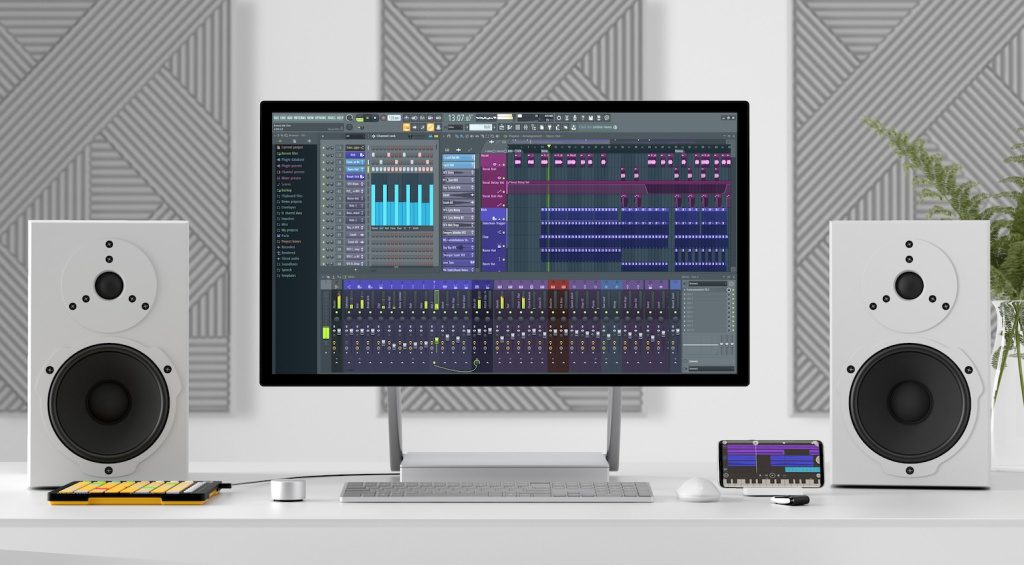
Ensure the DAW you plan on using is compatible with the specific version of the operating system you have installed. Furthermore, if you have an audio interface, you need to check if it works with your OS and whichever DAW you choose.
Certain manufacturers like Steinberg and Presonus allow you to purchase an audio interface with a basic DAW version included. Although these are entry-level interfaces, you can upgrade the software to a more professional version at any stage.
What’s an Audio Interface?
If you plan on recording instruments or vocals, your interface is an essential aspect of your setup. More than a box with inputs and outputs, an interface is a gateway between the analogue world and the digital recording platform of your DAW.
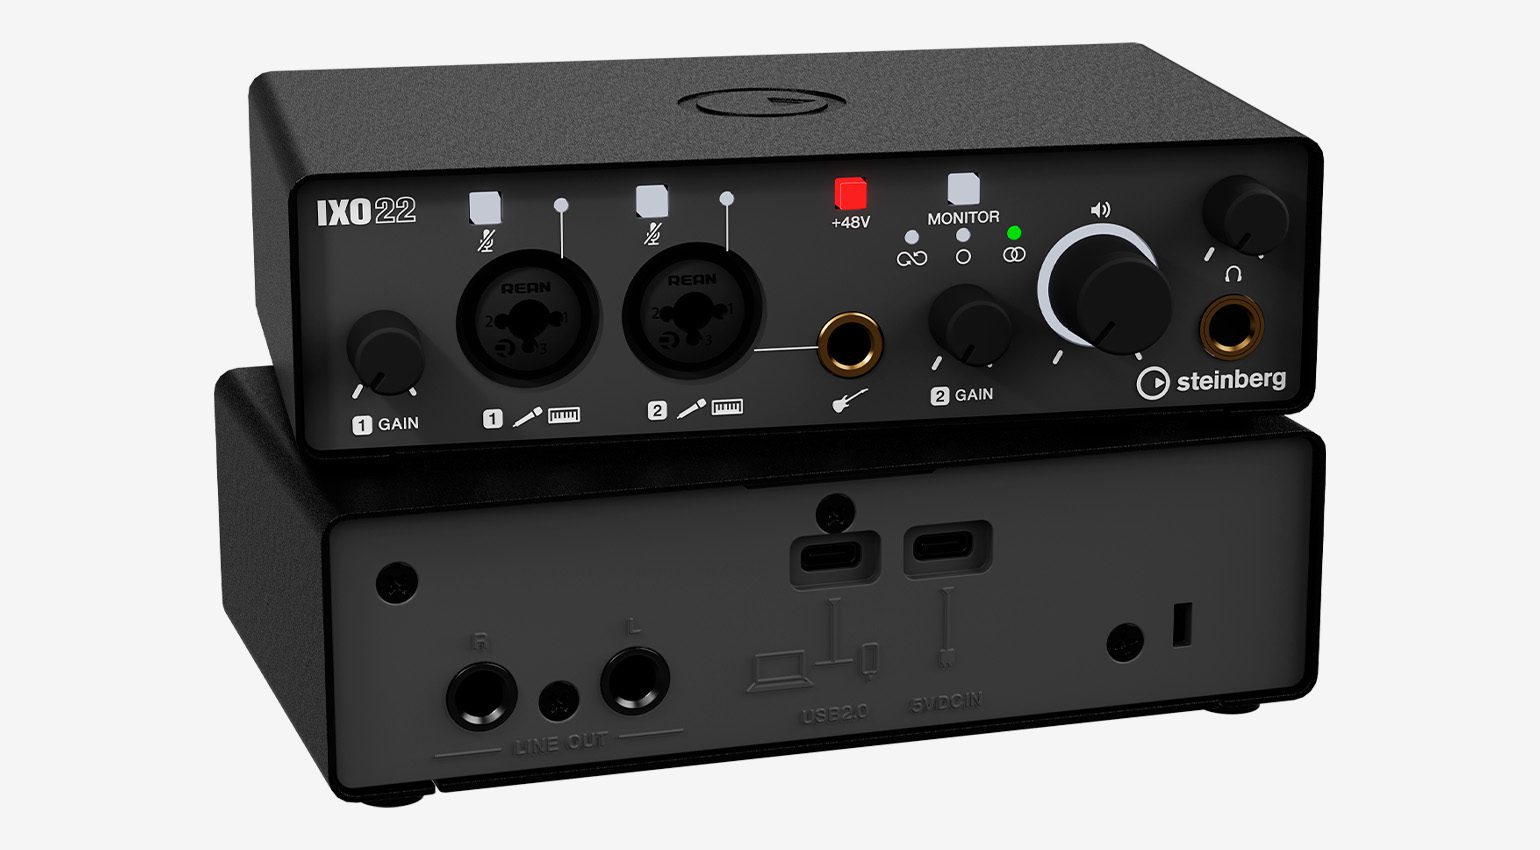
When it comes to the AD/DA conversion stage of an audio interface, the quality is relatively similar in the $300-$500 range. While some might offer a few more features here and there, you’re mostly paying for the number of inputs and outputs you need.
In addition, keep in mind that the microphone preamps you find on the average budget audio interface are not top-of-the-line. You can get good results with most condenser mics, but dynamic mics need a little more gain with their low-output circuitry.
Should I use a Dynamic or a Condenser Mic?
The microphone you choose will depend on the type of recording you plan on doing and the room you’re using. If you’re stuck with a room that has harsh reflections or background noise, then a dynamic mic is a better choice with its more localized pickup zone.
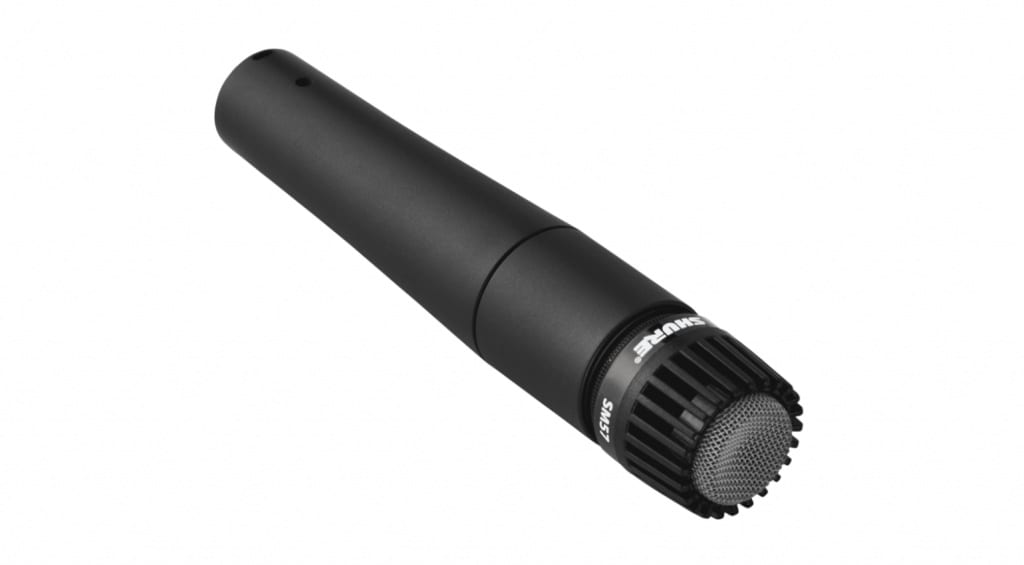
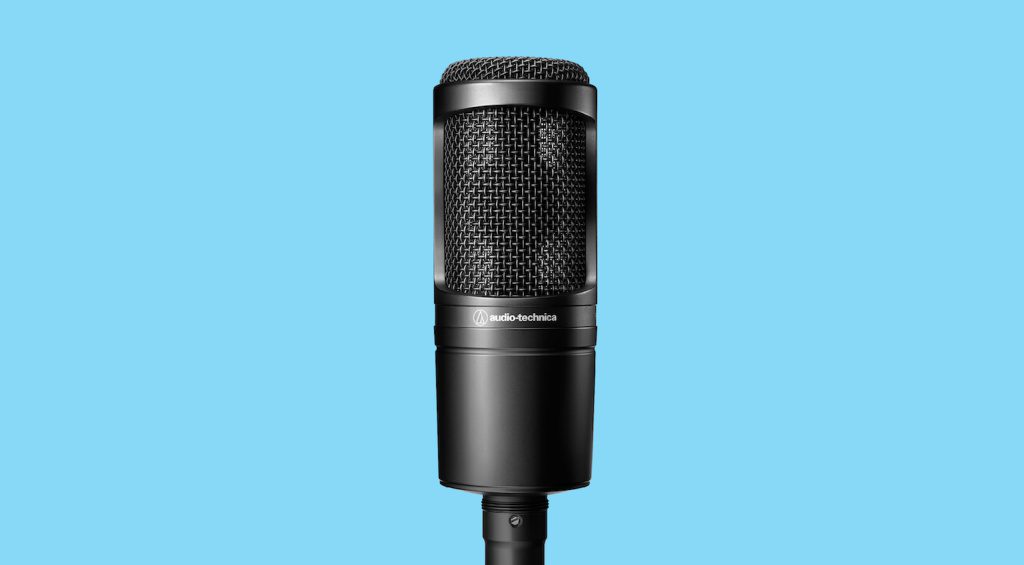
However, dynamic mics are low-output devices. This means that they need more gain than condensers, and by boosting the preamp on your interface you add noise. Therefore, an in-line mic preamp like a Cloudlifter or a dedicated mic preamp is necessary.
Alternatively, if you’re relatively happy with the sound of your room, a condenser mic will do the trick on vocals, guitar amps, and most other acoustic instruments. Simply activate the 48V phantom power on your audio interface and you’re ready to record.
Speaker Size and Placement
When you’re setting up your studio for music production and mixing, speaker placement is certainly a key consideration. You want to remain in the nearfield when listening, around 1-1.5 meters. Ideally, you want to position the speakers so that this “sweet spot” is as close to the center of the room as possible.
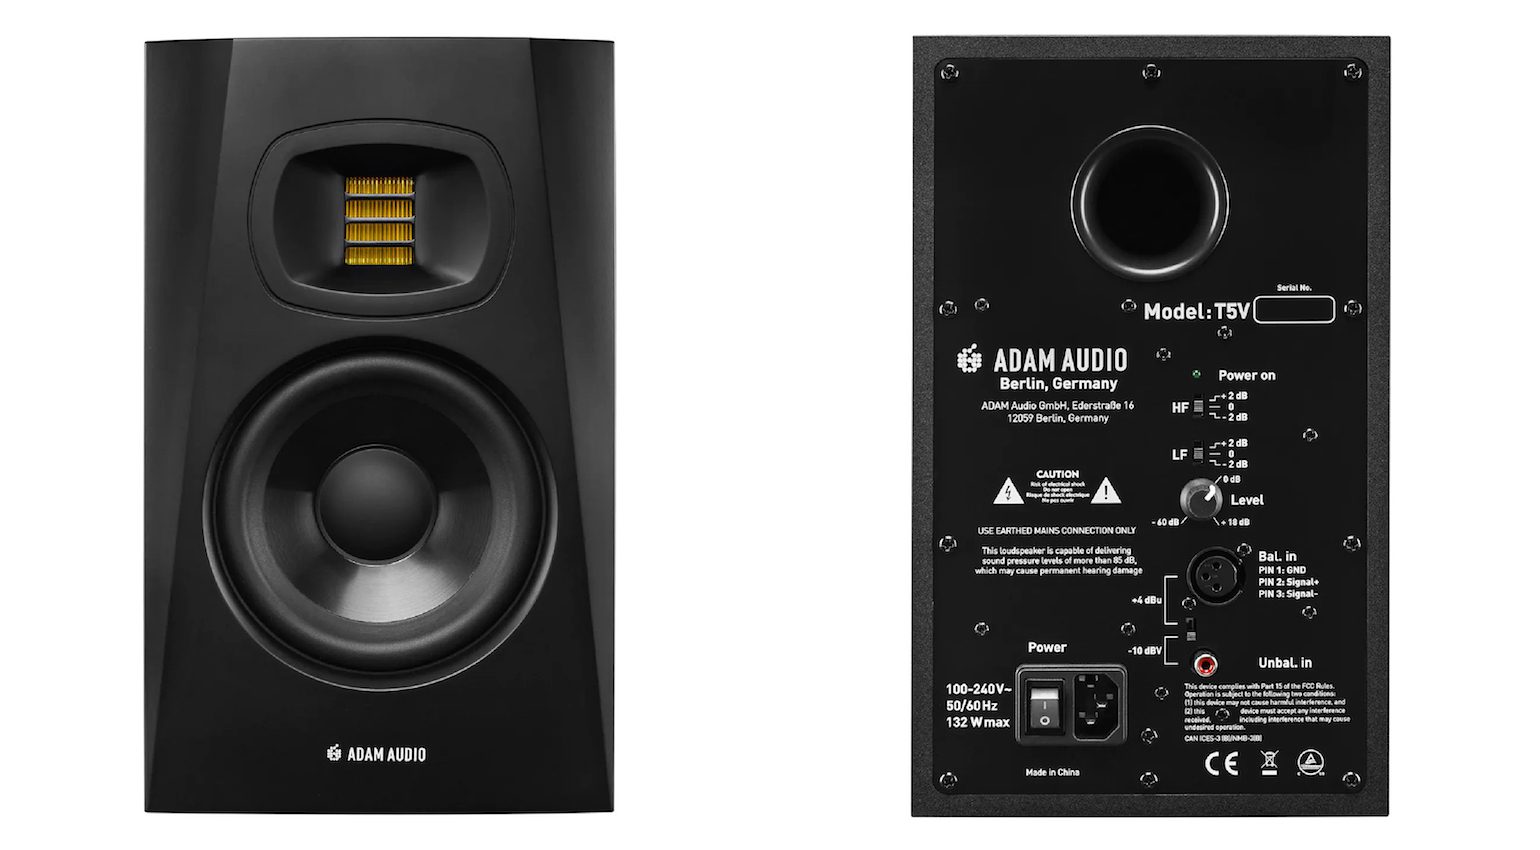
Monitor stands and decoupling pads can help you reduce reflections from surfaces and vibrations from objects. However, you want to avoid placing speakers close to walls, windows, or cupboards.
Naturally, larger speakers provide more headroom in the low-frequency range. Although, if your room is too small for 8-inch monitors, your mixes will lack power in the low end. As a beginner, a 5-inch monitor is a great starting point for small to medium-sized rooms.
Treating Your Room
Working in a home studio doesn’t prevent you from achieving great recordings. Even when you’re working in a problematic acoustic environment, there are steps you can take to reduce reflections, standing waves, and bass doubling.
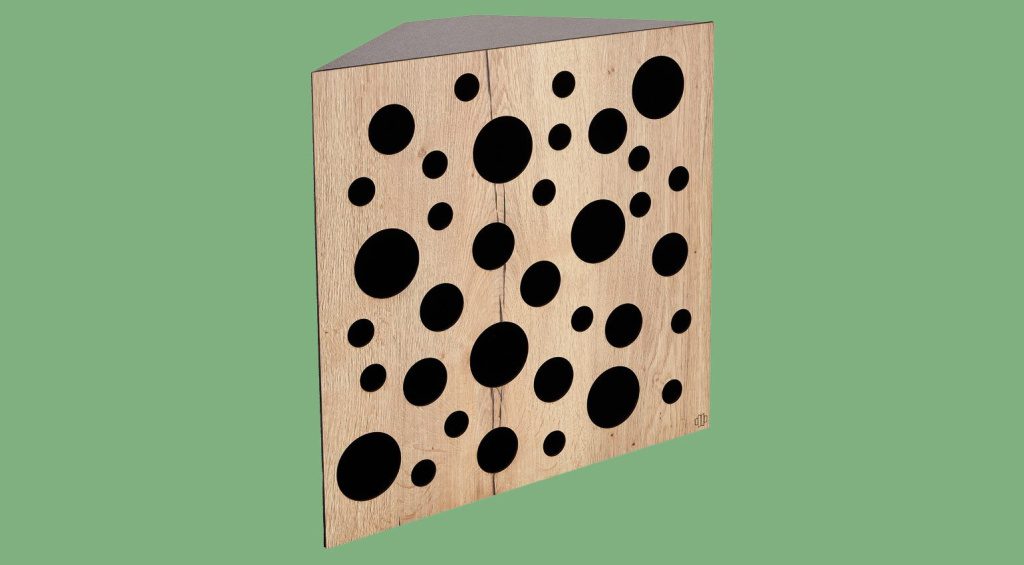
To optimize your space for mixing, bass traps can be effective for taming low-frequency resonances. By placing them in the corners of small rooms you can get a far more accurate sonic projection from your studio monitoring system.
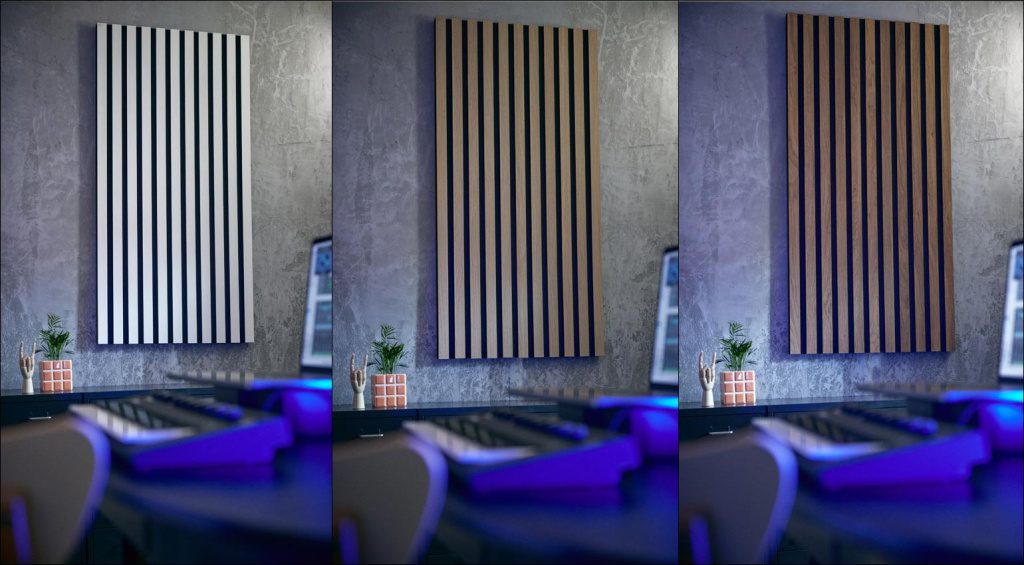
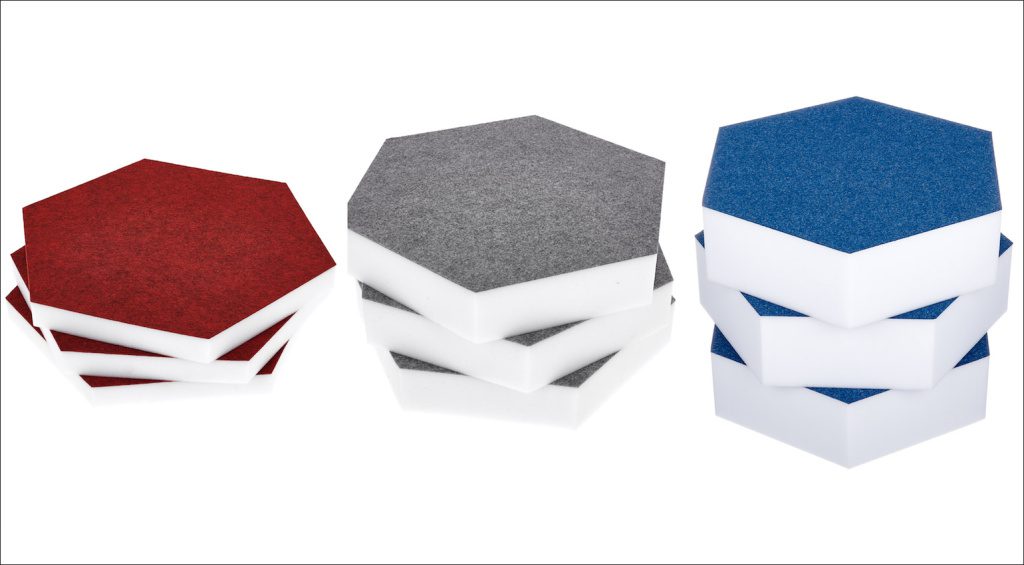
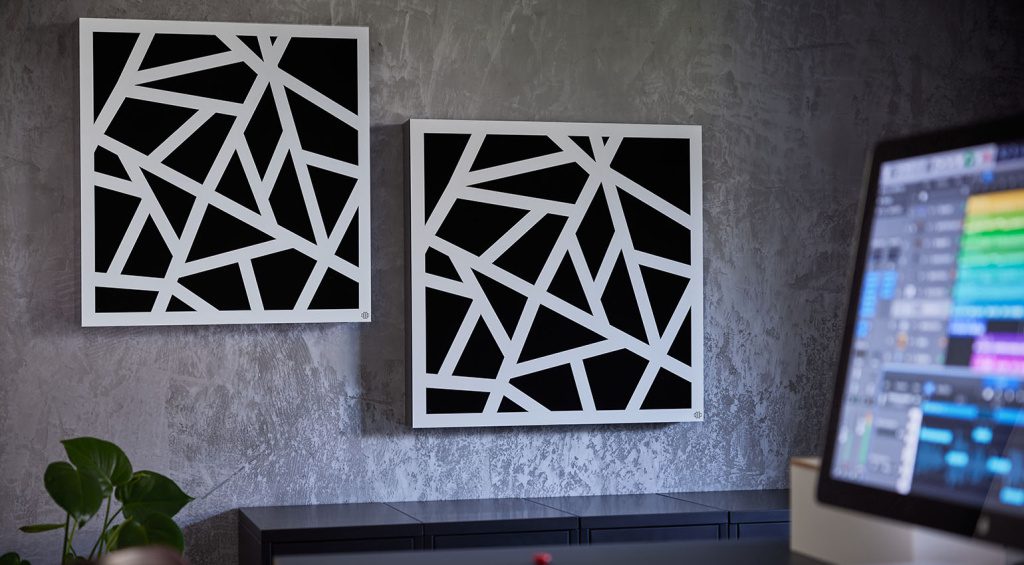
In addition, your room can benefit from the application of wall and ceiling absorbers and diffusers. Once installed, these can considerably reduce harsh reflections, making it easier to use condenser mics effectively.
More about How To Set Up A Home Recording Studio For Beginners:
*Note: This article contains advertising links that help us finance our site. Don’t worry: the price for you always stays the same! If you purchase something through these links, we receive a small commission. Thank you for your support!
Image Sources:
- FL Studio: Image Line
- Garage Band: Apple
- Steinberg IXO 22: Steinberg
- Shure SM57: Shure
- Adam T5V: Adam
- t.akustik LF-D 60 Bass Trap Halifax oak : t.akustik
- Optimize your space with t.akustik Stripe Absorbers: t.akustik
- Get the most out of your room with t.akustik Hexagon absorbers: t.akustik
- HMF-60 White: t.akustik